


What Are the Top 3D Lenticular Print Types in 2026?
In 2026, lenticular print remains a practical way to make a flat image shift, move, or appear three-dimensional as viewers change position. The category is not one single effect. It covers distinct print types, each shaped by lens pitch, image sequencing, viewing distance, and careful alignment. Small movements matter.
This guide compares three widely used approaches: 3D depth, flip, and motion or animation. A depth print can make a subject seem to sit behind or in front of the sheet. Flip designs switch between images, while motion designs create a sequence of frames as the viewing angle changes. The best choice depends on the message, the viewing environment, and how much visual change the design needs.
Industry figures offer useful context, but require care. Grand View Research estimated the global 3D printing market at USD 20.37 billion in 2023 and projected a 23.5% compound annual growth rate from 2024 to 2030. That report concerns additive manufacturing, not lenticular graphics, so it should not be treated as a measure of lenticular demand. The distinction matters. This article uses the phrase 3D Print Lenticular to describe lenticular effects made through print processes, not 3D-printed objects. It also considers practical details, from visible image depth to the small registration errors that can soften an otherwise striking result. No single type wins every time. The right choice is often less dramatic—and more useful—than a product sample suggests.
Define 3D Lenticular Printing: Lens Pitch, DPI, and Viewing Angle
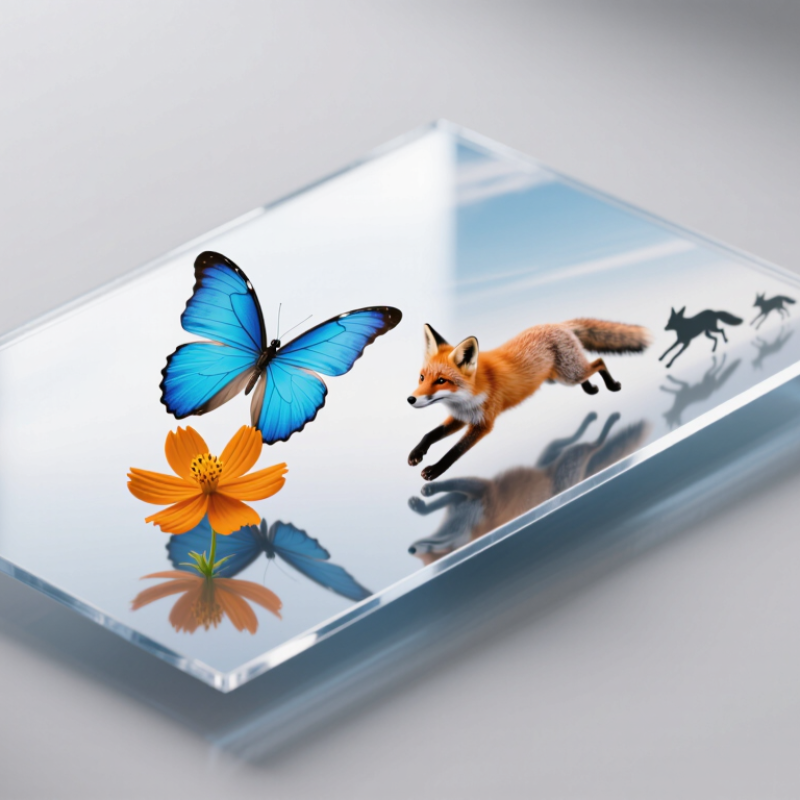
3D lenticular printing places a fine lens sheet over interlaced image strips. The lenses direct different strips toward each eye, creating perceived depth as the viewer moves. Lens pitch, measured in lenses per inch (LPI), sets the spacing of those strips. At 40 LPI, each lens is about 0.635 millimeters wide. Small errors matter.
DPI describes printer dots, not image detail. Image resolution is measured in PPI. For an eight-view file under a 40-LPI lens, a practical starting point is about 320 PPI across the interlaced direction: 40 × 8. This is a calculation, not a universal production rule. ISO 12647-2:2013 addresses offset-print process control, while ISO 3664:2009 defines viewing conditions; neither sets a standard lenticular pitch or viewing angle. Angle depends on lens geometry, image construction, and viewing distance. A test print viewed at arm’s length can reveal ghosting that a monitor hides.
Tips: Confirm actual lens pitch with a calibrated gauge, not the label alone. Print a small proof, then check it under ordinary room lighting from several angles. Adjusting only DPI may not fix a mismatched viewing angle.
What Are the Top 3D Lenticular Print Types in 2026? — Define 3D Lenticular Printing: Lens Pitch, DPI, and Viewing Angle
The figures below are practical planning ranges, not universal specifications. The best lens and viewing setup depends on print size, viewing distance, lens construction, image content, and the printer’s workflow.
| Print type | How the effect works | Typical lens pitch | Image resolution and interlacing | Viewing-angle guidance | Common uses |
|---|---|---|---|---|---|
| 3D depth | Multiple images captured or rendered from slightly different viewpoints are interlaced beneath a lenticular lens. The changing views create perceived depth and parallax as the observer moves. | Often about 40–75 LPI for close-viewed sheet prints; larger lenses may be chosen for larger formats or longer viewing distances. | A common starting point is artwork prepared at about 300 PPI at final print size, with several aligned views. The image must be interlaced to match the actual lens pitch and print setup. | Usually designed for a frontal viewing position with a limited viewing zone. The usable angle depends on lens geometry, pitch, thickness, and viewing distance. | Posters, postcards, covers, display graphics, and images where dimensional depth is the main effect. |
| Flip | Two or more distinct images alternate as the viewing angle changes. A flip can use a simple two-image change or several sequential states. | Often about 40–75 LPI for small or medium prints; the final pitch is selected to suit the format and viewing conditions. | Prepare each image at the same final dimensions and resolution, then interlace the views for the selected lens. Clean alignment and adequate contrast help make the transition clear. | The transition is typically noticeable as the viewer moves across the viewing zone. Its width and smoothness are design- and lens-dependent. | Before-and-after graphics, product comparisons, promotional cards, and simple changing-image displays. |
| Motion or animation | Several frames are interlaced so that movement appears as the viewing angle changes. More frames can create a smoother sequence, but each frame receives a smaller share of the available image information. | Often about 40–75 LPI for close-viewed prints, subject to the selected lens and print size. | Use consistently sized frames and plan the frame count before production. More frames generally require careful control of source detail, alignment, and interlacing. | Movement is revealed by changing the viewer’s angle; it is not continuous video. The apparent sequence depends on lens pitch, angle, and viewing distance. | Action sequences, product demonstrations, character movement, and short visual loops on printed displays. |
| Zoom or morph | A zoom changes the apparent scale of an image, while a morph gradually changes one image into another across multiple interlaced views. | Often about 40–75 LPI for small and medium formats; larger formats may use a coarser pitch depending on viewing distance. | Build intermediate views or frames at the final output size. Smooth transitions depend on consistent composition and accurately matched interlacing. | The effect is most legible when viewed within the intended angle range. The transition may appear abrupt or uneven if the artwork or lens alignment is unsuitable. | Packaging, promotional graphics, visual transformations, and displays that combine changing scale with image transitions. |
Key terms: Lens pitch, usually stated in LPI (lenses per inch), describes the number of lenticular lenses across one inch. DPI refers to printer dots per inch; PPI refers to image pixels per inch. These are different measures: printer DPI does not by itself determine image detail or the correct interlacing. Viewing angle is the range of observer positions from which the intended views can be seen; it is not a single guaranteed value and varies with the lens, print construction, and setup.